
The other Layer Group Blend Mode - Normal

By default, new Layer Group folders are set to Pass Through blend mode. If you've never thought to ask what that's all about, you're not alone.
Here’s an alternative that will become a really useful tool in your high res workflow.
Pass Through isn’t really a Blend Mode per se, it more describes how the adjustment layers inside a Layer Group behave. It means that any adjustments you create inside the Layer Group
pass through
the group to all Layers below.
Enter the Normal
We’ve got different methods for constraining adjustments to specific areas in the image - masks, clipping masks, blend if, etc. Seems like the one that flies mostly under the radar is Normal mode for Layer Groups. In Normal mode, all Adjustment Layers above one or more Pixel Layers within that Layer Group will be bound to the area of those pixels. Let’s check it out.
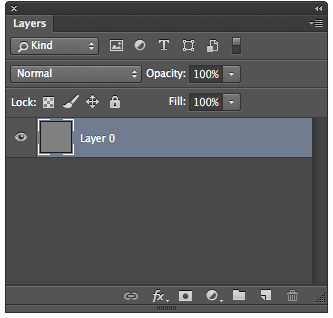
Here's a new Layer with 50% Gray:

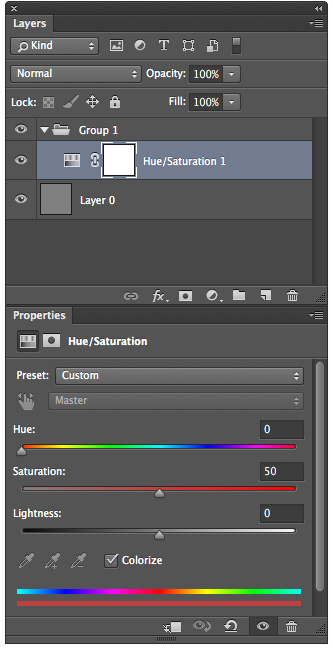
In a new Layer Group, create a H/S Adjustment Layer with Colorize clicked. This could in fact be any Adjustment you choose.
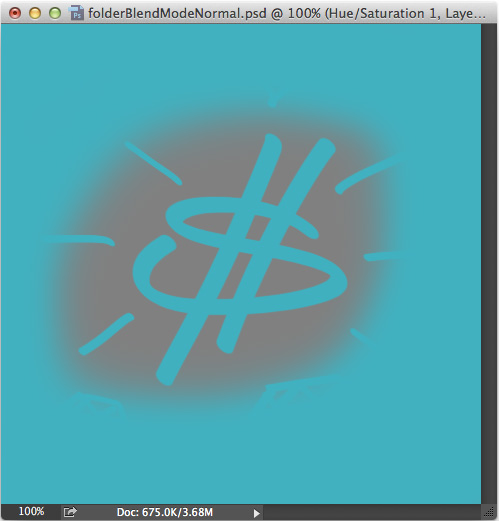
On a new Pixel Layer, draw something cool like a dollar sign.


Drag this new Pixel Layer under the H/S Layer. It acts as expected - changing the color of pixels both in and out of the Layer Group.


Now, set the Layer Group Blend Mode to Normal. See how the H/S Layer only affects pixels inside the Layer Group.


Add more pixels - bling marks and diamonds for instance. The Adjustment Layer will continue to affect any pixel layers that are placed below it.

Now V-birds and a soft brush vignette.


Now for kicks, shift the Hue slider on the H/S Adjustment layer.
This method of isolating adjustments is an important addition to the standard methods. It eliminates the need to create masks, and is more flexible than clipping adjustments to individual Pixel Layers because you can stack multiple layers up within the Layer Group.
Try this with photographic elements and realize the full power of Normal mode.
